In this article, the procedure to install Android SDK on Eclipse Galileo will be described:
Android 1.6 SDK is available now, the setup procedure is same:)

If you have installed Android SDK 1.5 with Eclipse already,
here is the procedure to upgrade from Android 1.5 to 1.6.

--- Erik edited@2009-09-16 ---
Android 2.0 is available.
In order to develope application for Android, Android SDK Tools, Revision 3 is need.
The setup procedure is same.
:)

If you have installed Android 1.6 SDK with Eclipse already,
here is the procedure to upgrade to Android SDK Tools, Revision 3.

--- Erik edited@2009-10-28

It you are going to install Android SDK release 3 + Eclipse 3.5 + Ubuntu 9.10
Refer here: http://android-er.blogspot.com/2009/11/install-android-sdk-release-3-on.html

--- Erik edited@2009-11-06
OS: Ubuntu 9.04
Java: Sun JDK 6
Eclipse version: 3.5 Galileo
Android SDK: Android 1.5 SDK r3 (Also applied on Android 1.6 and 2.0 SDK)
Before you can start, you have to install jdk, type the following command in Terminal:
sudo apt-get install sun-java6-jdkSun's JDK 6 will be installed automatically.
Download Eclipse IDE for Java Developers from
http://www.eclipse.org/downloads/, the current version is 3.5 Galileo. Extract to any location you want.
Download Android SDK
http://developer.android.com/sdk/index.html, extract to any location you want.
http://developer.android.com/sdk/1.6_r1/index.html for Android SDK 1.6.
Here is page to Download the Android SDK for Android 2.0 SDK.
You are suggested to add the location of the SDK's primary tools directory to your system PATH. In my case, used on ubuntu 9.05, modify the file
~/.bashrc to include the statement:
export PATH=${PATH}:android-sdk-linux_x86-1.5_r3/toolswhere android-sdk-linux_x86-1.5_r3/ is the location of my android sdk.
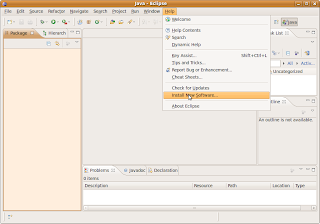
Now, it's the time to Installing the ADT Plugin for Eclipse:
Start Eclipse, click Help>Install New Software...
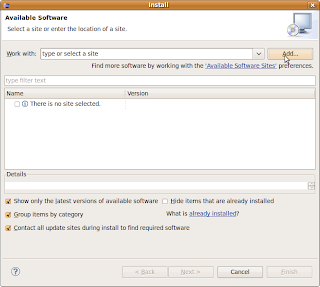
click ADD to add ADT site
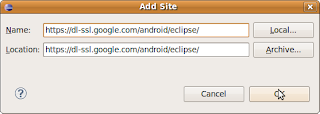
insert
https://dl-ssl.google.com/android/eclipse/ in the location box, and click OK.
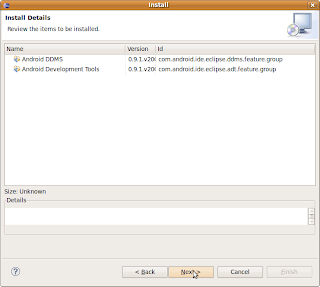
Make sure to enable Developer Tools and click Next.
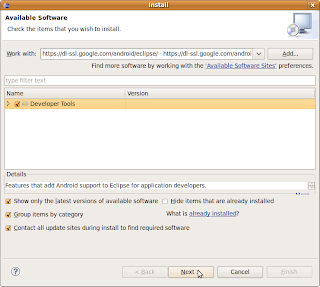
and Next again.
Accept the terms and click Finish.
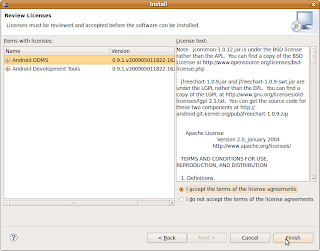
You will be asked to restart Eclipse, just restart it.
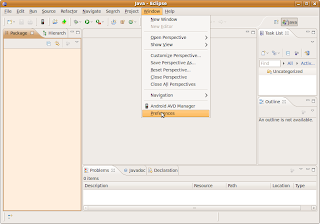
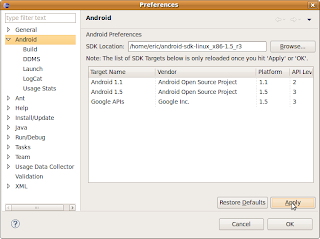
Then you have to set Eclipse preferences for Android SDK.
Click Window>preference
Browse to the location where you install the Android SDK.
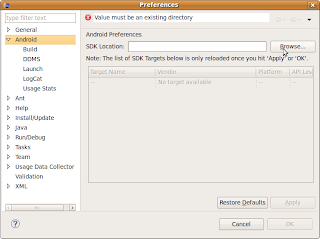
Click Apply, and wait for a moment, the list of SDK will be displayed, click OK.
Basically, your Eclipse+Android development IDE is finished.
Before you can Run your Android application on emulator, you have to create your Android Virtual Device (AVD).
Open a terminal, navigate to the /tools directory in the SDK package and execute:
android create avd --target 2 --name my_avdIt's time to implement a HelloAndroid to check if it's work OK.
Click File>New>Project... then select Android>Android Project... and click next.
Fill in the project details with the following values:
- Project name: HelloAndroid
- Application name: Hello, Android
- Package name: com.example.helloandroid
- Create Activity: HelloAndroid
- Min SDK Version: 2
And click Finish.

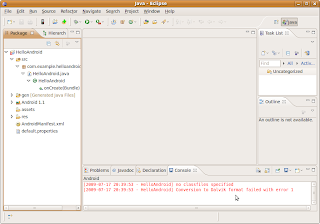
Oop!
no classfiles specifiedConversion to Dalvik format failed with error 1If you see the error (I suppose you will), add Android in the Build Path.
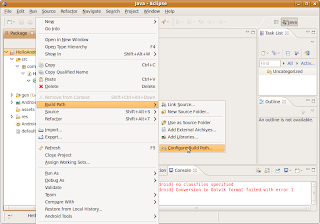
Right click you project, Build Path>>Configure Build Path...
Enable Android 1.1 and click OK.
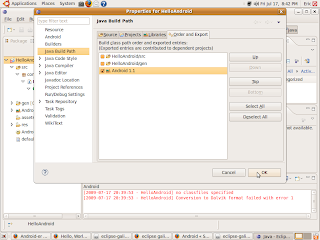
Wait a moment, you project will be re-built. Suppose your project will be built without error.
Right click the project, Run As>>Android Application

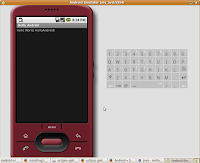
Wait! Wait! your first HelloAndroid will be run on Android Emulator.
 Simple is a BASIC dialect for developing Android applications. It is particularly well suited for non-professional programmers (but not limited to). Simple allows programmers to quickly write Android applications by using the components supplied by its runtime system.


